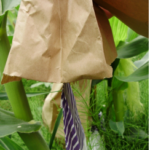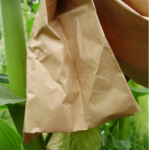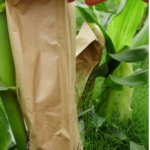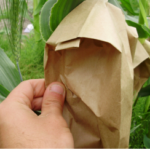
 Here is the second installment of how to pollinate sweet corn. Go here for the first part. In part one, I explained how to put shoot bags on the developing shoots to prevent any unintentional pollinations from taking place. In this post, I’ll explain the two parts of making controlled pollinations in corn: “setting up” and “taking down”. Setting up is done one day, and taking down – the actual pollination – is done the next.
Setting up.
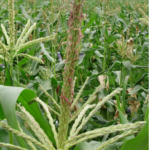
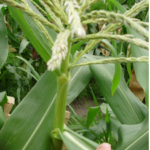
The first thing to do when you want to pollinate is to find plants that are ready. They need to 1) be shedding pollen, and 2) have silks. The above picture shows a perfect candidate. The central tassel spike has anthers dangling out and shedding pollen – notice the purple bits (On many corn plants, they are a yellow-green rather than purple). These are the anthers – the male part of the corn plant, which contain pollen. This plant is just starting to shed pollen. The anthers will first emerge from the central tassel branch, and then continue to the lower branches. When picking a plant to pollinate, you want one that still has parts of the tassel where the anthers have not emerged yet, because you want fresh, new anthers to emerge and shed pollen into the bag you are about to set up – this will become more clear in a minute.
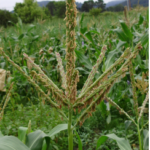
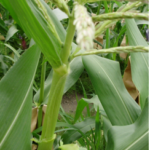
What you do not want is a plant like the one pictured above. This plant is done pollinating – all the anthers are out.
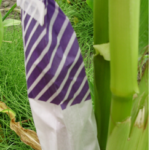
Now you need to check if you have silks. Remember how you put shoot bags on the ear shoots before. Now you need to peek under the bags to see what you have.
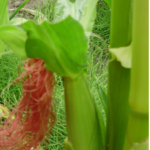
This plant has plenty of silks for you to work with. Sometimes the shoot might not have any silks emerging, but when you cut it back (which you’ll see in a minute), you will discover that there are plenty of silks just about to emerge.
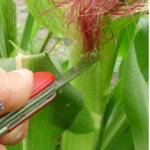
Once you find a potential ear shoot, you need to cut the silks back. You do this because you want to have to have a nice short “brush” of silks sticking up when you make the pollination tomorrow. The silks in the above picture are so long that some of them are covering up other silks, and might block them from getting any of pollen on them.
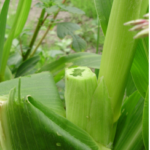
To cut back, take your knife and cut straight across the shoot, a little ways into the shoot itself. You want to cut deep enough so that you are left with the top of the shoot showing about a pencil-width area of silks in center, like you can see in the above picture. Be careful not to cut too far and nick the ear itself. This can take a little practice.
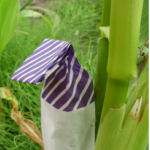
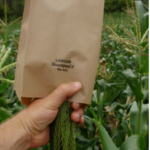
Once you are done cutting back, put the shoot bag back on. Fold the shoot bag at the top. This tells you that this plant is ready to set up.
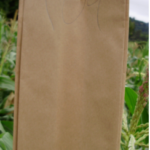
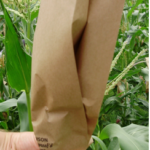
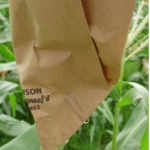
Now that you have found a plant or plants with tassels and silks that are ready, and now that you have cut back the silks, it is time to set up the tassel bag. You can buy tassel bags from Lawson, just like the shoot bags. For sweet corn, their No. 402 bags are the right size. Notice the “109” written at the top. It’s a good idea to write the number of days from planting to pollination on the bag, so that you will know later. If you’re making a cross, write the names of the male and female in the cross on the bag as well. Write clearly with pencil – it is more likely to be legible at the end of the season.
Before you put the tassel bag on the tassel, you may want to remove one of the leaves at the top in order to allow the bag to fit more easily. Only do this if you need to, and be careful! The top of the corn plant is fragile and easy to damage.
Here is the plant after the leaf has been removed.
Now, take the tassel (and top leaf if need be), and hold them together in one hand while you slip the tassel bag over them with the other hand.
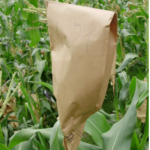
Pull the bag down as far as you can without smashing the tassle too much – at least past the top leaf. Once you’ve slipped the bag on, smooth out any major creases, so that the sides are relatively flat.
Now, take on ecorner of the bottom of the bag and fold it up at a 45 degree angle. Fold it so that the bag is snug against the stem.
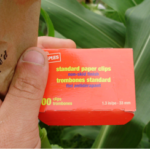
Now use a paper clip hold the tassel bag in place. You want to use #1 non-skid standard paper clips.
Put the paper clip at a right angle to the fold, as shown here.
Now you have set up a pollination. You will come back to this the next day to take it down.
Taking down.
The day after you set the tassel bag up, you can take it down and pollinate. Start by bending the tassel and bag over and giving it a couple of good whaps on your hand to shake out the pollen into the bag.
Pop the paper clip off, and slip the bag off the tassel.
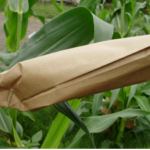
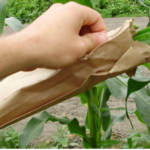
Fold the bag in half as show above to keep the pollen in.
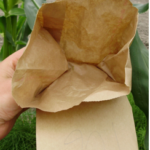
Open up the front of the bag as shown above.
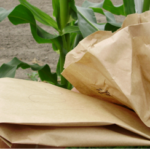
The next few steps should happen quickly to minimize the chance of unwanted pollen getting on your silks. Put the tassel bag over the shoot that you intend to pollinate.
Take off the shoot bag.
Slide the tassel bag over the shoot and unfold it.
Uncrease the edges of the bag and give it a shake to make sure all the pollen has fallen out.
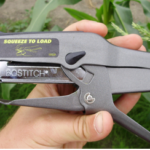
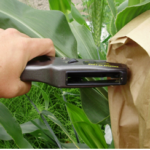
You’ve made a pollination! Now you will staple the bag in place. The best tool for the job is the Bositch B8 Stapling Plier.
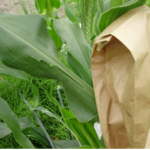
Staple the bag around the stem, with the writing facing out.
That’s all there is to it. After the first pollination you make, the rest are easy.
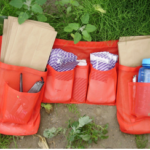
Another tool to make pollination easier is a pollination apron. You can buy these from Midco Enterprises. They have pockets for all your bags, your stapler, pencil and knife.
